Our Blog

How to remove navigation bar from the header in WordPress

priyanshu | Jun 19,2011 |   No Comments

Go to your header file(header.php) and here you will  find a function wp_nav_menu($args)

This function Displays a navigation menu created in the Appearance → Menus panel.

So if you did not want to show the navigation bar than you can remove the php script through which this founction is called  and finally you will get the desired result as shown in the image below(no navigation bar)

WordPress header without navigation bars

Header with no navigation bar

In some cases function wp_page_menu($args) is used in header file in order  to show a  navigation bar.

wp_page_menu($args) # Displays a list of WordPress Pages as links, and affords the opportunity to have Home added automatically to the list of Pages displayed. This Tag is useful to customize the Sidebar or Header.

Similarly you can erase this function fro the header file to remove the navigation bar.


How to use Brushes effect in ‘photoshop’

priyanshu | Jun 16,2011 |   No Comments

Creation for Brushes effect ‘Steps’ are as follows :—

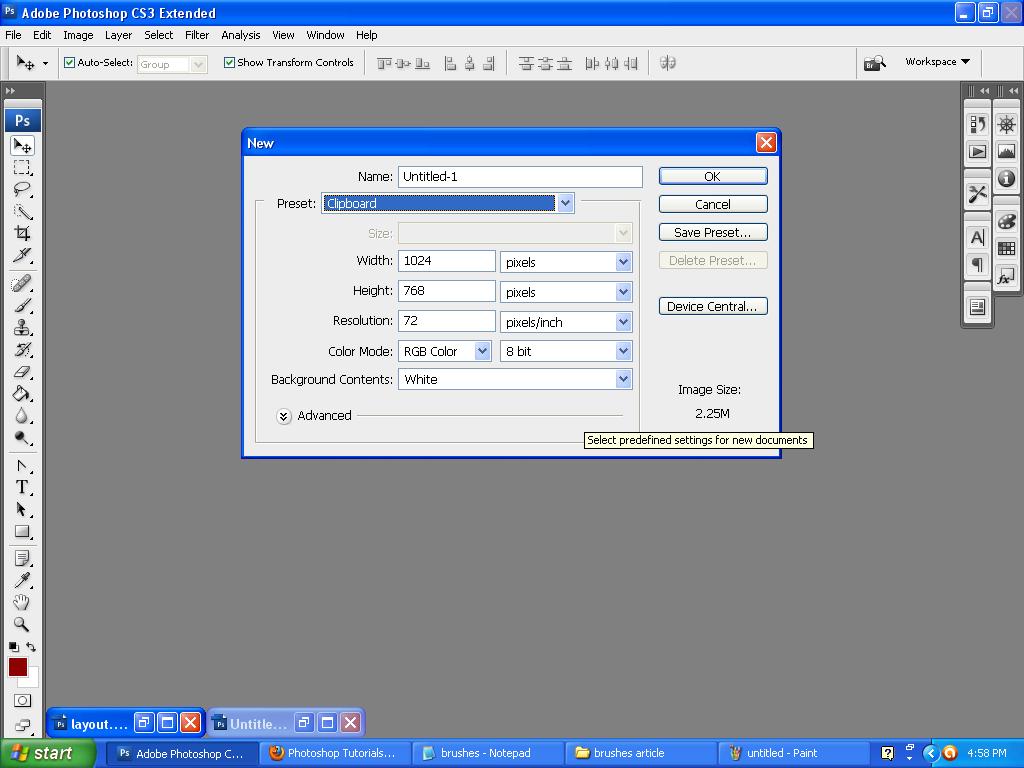
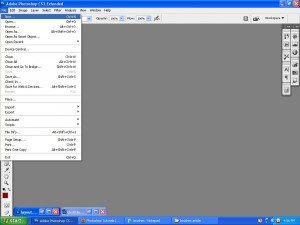
Step 1. Create a new file go to the file menu and select new.    Ctrl+n is the   Shortcut key.


Step 2.  (i) Fix the file Preset, dimensions width/Height, pixels, inches, points, cm, mm, pica’s, columns.

(ii) choose your color mode – RGB color,Gray-scale,Bitmap,CMYK color,Lab color.

(iii) choose Background contents – White, Background color, Transparent.

(iv) Than press OK.

Select the predefined setting for new document

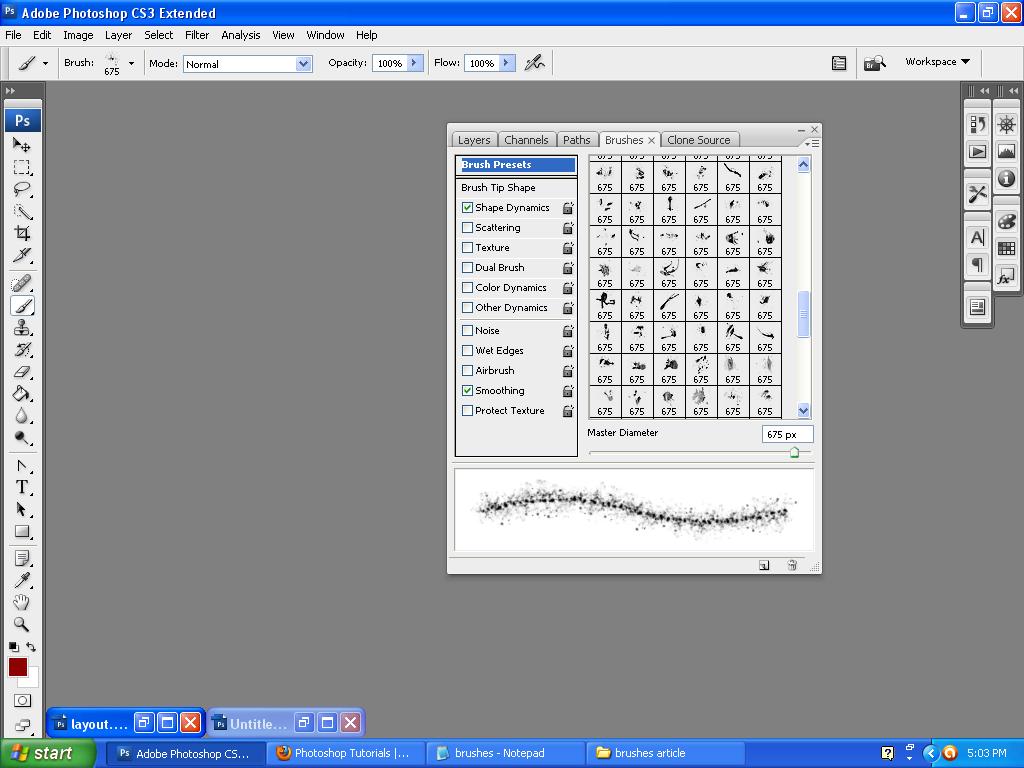
Step 3. Now go to the window and you can select – brushes, Shortcut key – F5.

Go to Window

Step 4. Set the Brushes Master Diameter you want to choose, and display  your brushes pallete now you can choose several properties for example Brushes Tip Shape, Shape Dynamics, Scattering, Texture, Dual Brush, Color Dynamics, Other Dynamics, Noise, Wet edges, Airbrush, Smoothing, Protect Texture ,these attributes are used to make  Cool Brushes Effect’s.

If you want to learn more about how to use Main Toolbar in Photoshop then you can refer to this tutorial

Brush pallete

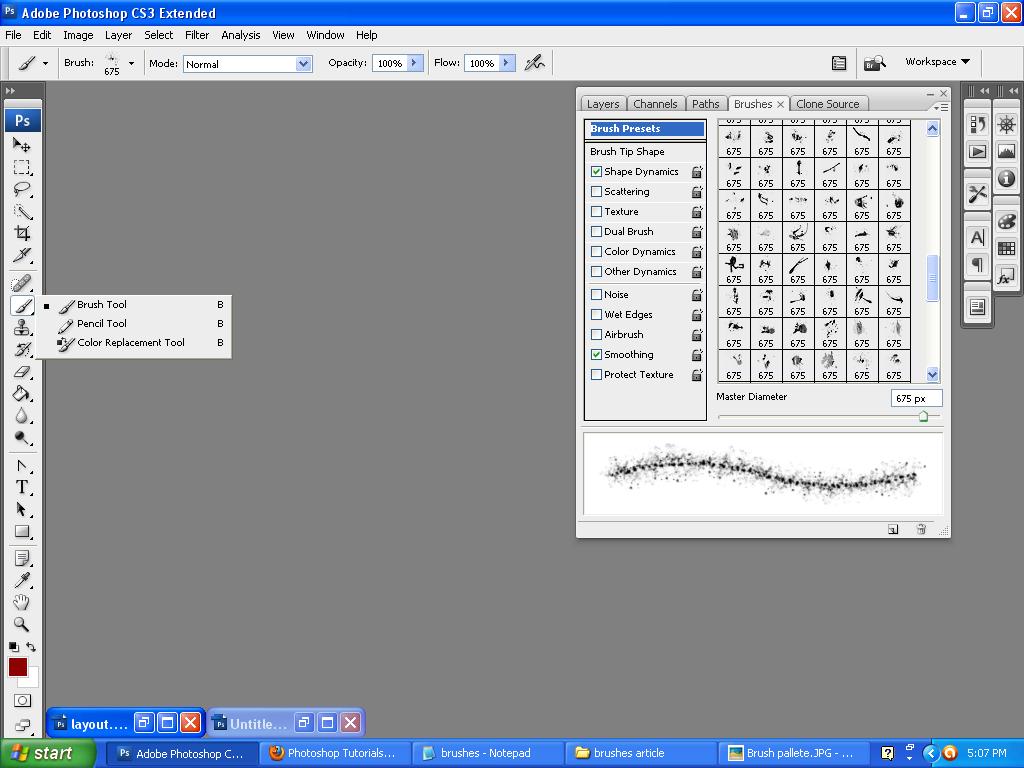
Step 5. Now go to the Tools Menu and  select brush tool, Now go to the Brushes presets and  select brushes and use this Brush in your new file.

Select Brush

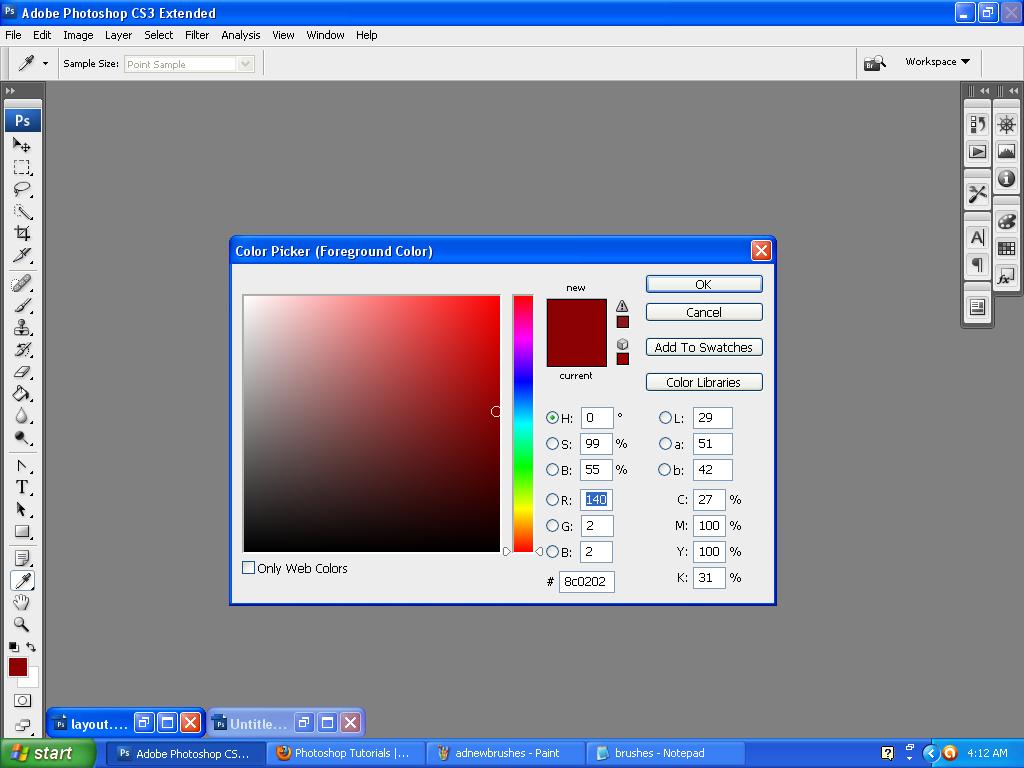
Step 6. Change your Brush colors and Background color from the Tools menu and double click set forgound color tab than click ok.And drag the Brushes.

color picker


To Add More types of Brushes :—use the following steps

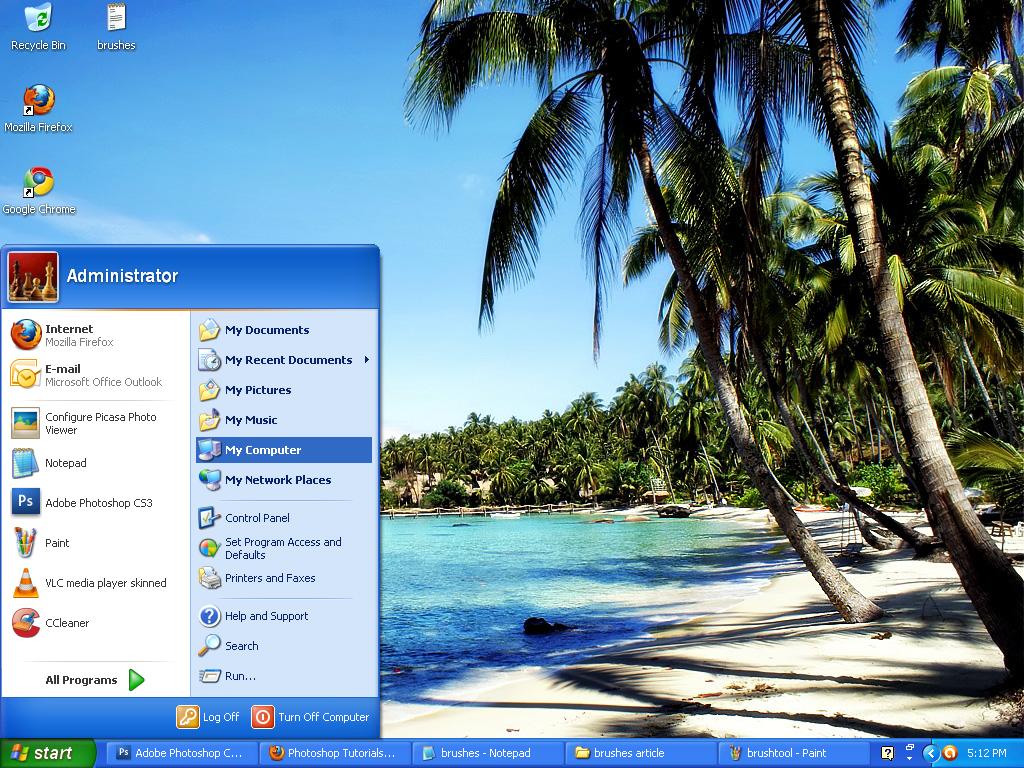
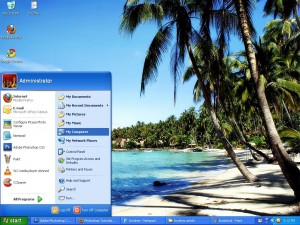
Step 1. Copy  your downloaded brushes.And click the Start button and go to the My computer.

My computer

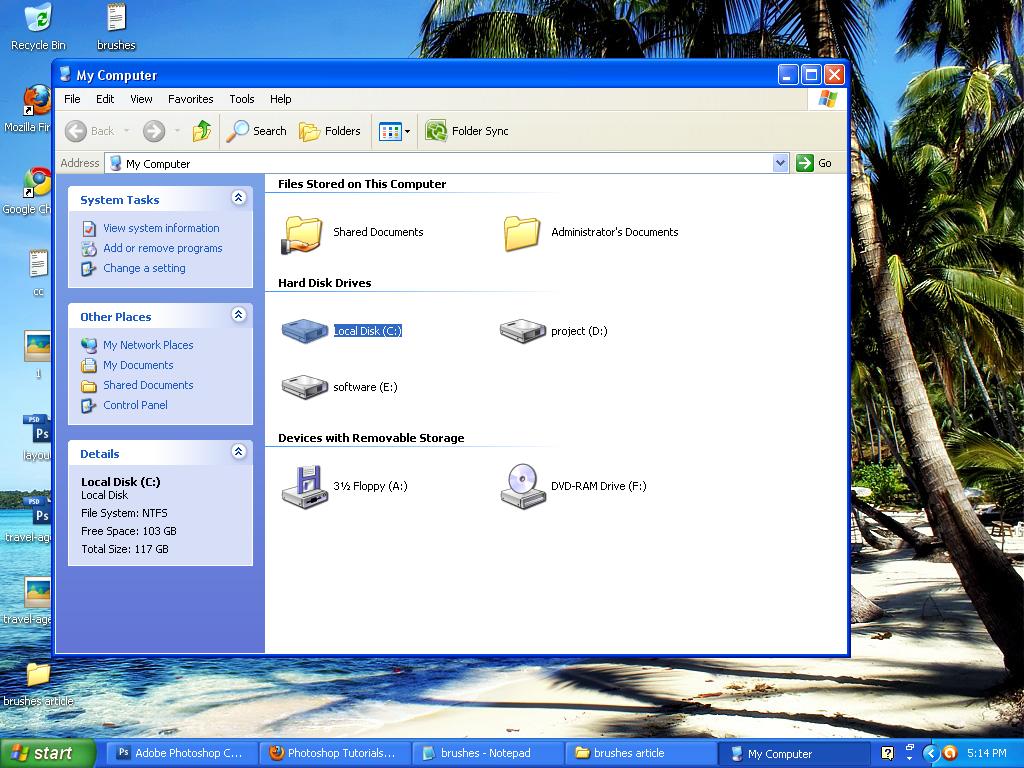
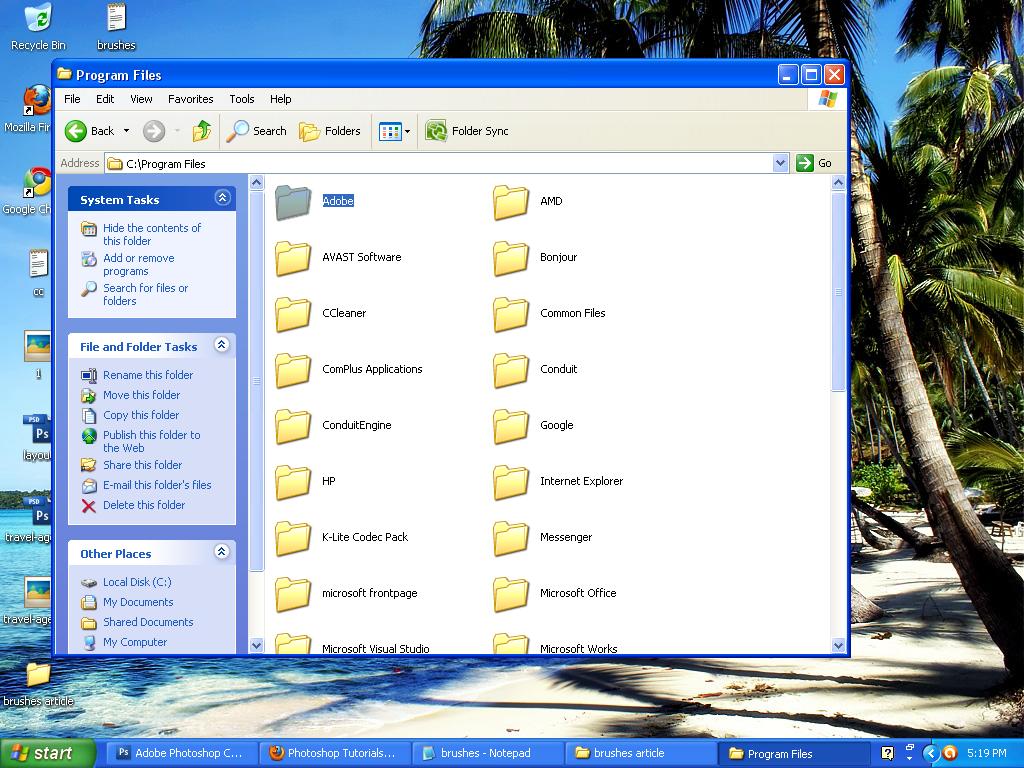
Step 2. Double click the ‘C’ drive and go to the program files.
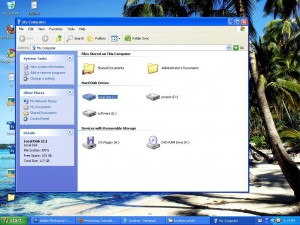
c drive

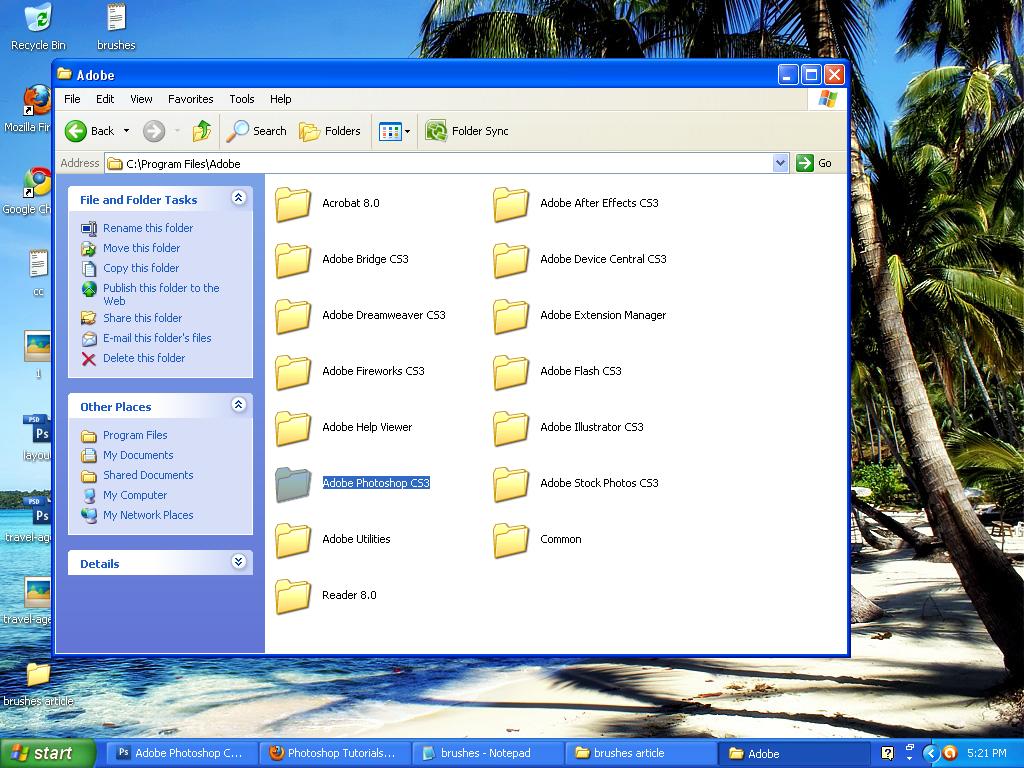
Step 3. Dubble click the Adobe folder.
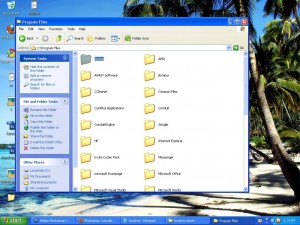
Adobe

step 4. Now again click the Adobe Photoshop folder.

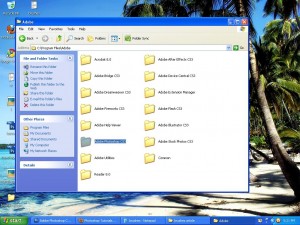
step 5. Goto the presets folder and Double click brushes folder.

Step 6. And paste here Your downloaded brushes.

Step 7. Now Restart the Photoshop. and you can use these installed brushes from the brushes pallete.


Thats it. It was really easy. If you want more photoshop related tutorial then you can visit


How to make a website in WordPress

priyanshu | Jun 15,2011 |   19 comments
  1. Step 1 :- I am  assuming that u had already met the  system requirements   and downloaded the latest version of  WordPress package , if not ,than  refer this article.   http://codex.wordpress.org/Installing_WordPress.
  2. Step 2 :- Firstly you need to start the wamp server ( start>All programs>WampServer>start WampServer). But for the future ease create a shortcut key .
  3. Step 3 : Now open ur web browser  and type the url “http://localhost” and select your project from the list ,on clicking the project you will found  this urlhttp://localhost/<projectname> on the address bar .(Note:- the project name is the name of the folder in which u had copied  all the WordPress application files).The view which you are getting right now on clicking the project , is created by the default theme (Twenty Ten by th wordpress team) and if you  had installed older version of the WordPress than Kubrick is the free WordPress default theme. Kubrick Theme looks like this.

    Wordpress Default Kubrick Theme

    This is the default WordPress theme named Kubrick

  4. Step4:- moving to the admin panel………….url for admin panel is rooturl/wp-admin enter the username and password of the admin user . on successful login you will enter to the admin control panel as shown in image below.                                                                                                      Admin Login Form
    Admin Login Form

    This is the wordpress admin login form

    Admin Control Panel

    Administration Control Panel

  5. Step5: Adding Pages…..Click the pages tab and select add new tab, this will display a form to create new web page refer images below ..and publish it.

    New Page

    Adding new page with the name About Us.

  6. Step6: Differences to the ui…now observe the difference in the ui…you will  find, the new menu is created by the name About Us(the name used to reference the page title)……so in this way one can create web pages…How to add sub pages or child pages….in the add new page form u will  find an attribute  ‘Parent’ select an option of whom you want to create a child and template option is also there so as to apply particluar template to the particular page ,on selecting this ,the particular page will be appeared as per the selected template …Add contact us  page : open add new page  form  and select the page template from the template attribute  as contact us as shown in images below.
Change made to ui on adding new wordpress page

After publishing About Us page you will find a link with the same name About Us under the Pages Widget

New Child Page in WordPress

Creating About Director child page of the About Us Page 


Child Page Making difference to UI

You will find a link just below the About Us link by the name About Director


So in this way one can create  websites easily and just short span of time ..

Preffered website hosting providers hostgator and second one is 2gbhosting

Prev 1 2 3 4 5 6 7 8 9 10