Category Archives: Adobe Photoshop

How to make a logo in photoshop

priyanshu | Jun 22,2011 |   one comments

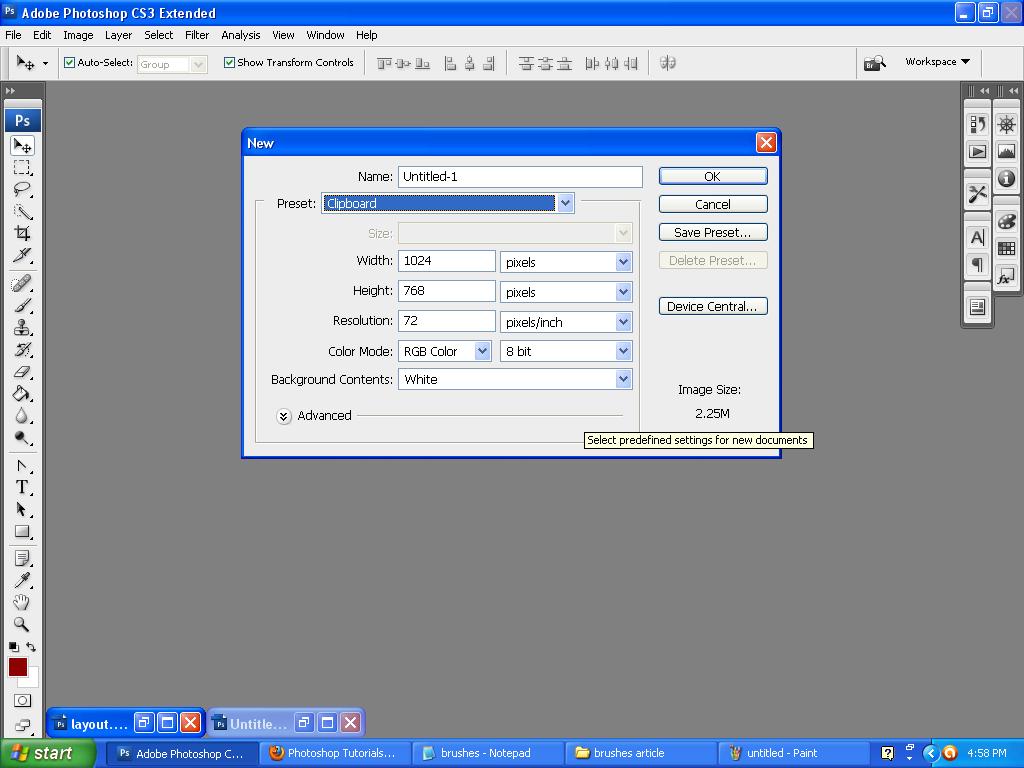
Step 1. Go to the file menu choose a new document.

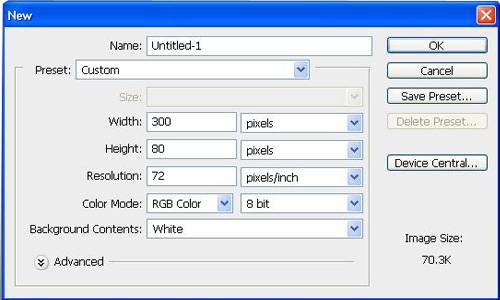
Step 2. Select bagkground layer fill background color solid black #000000.

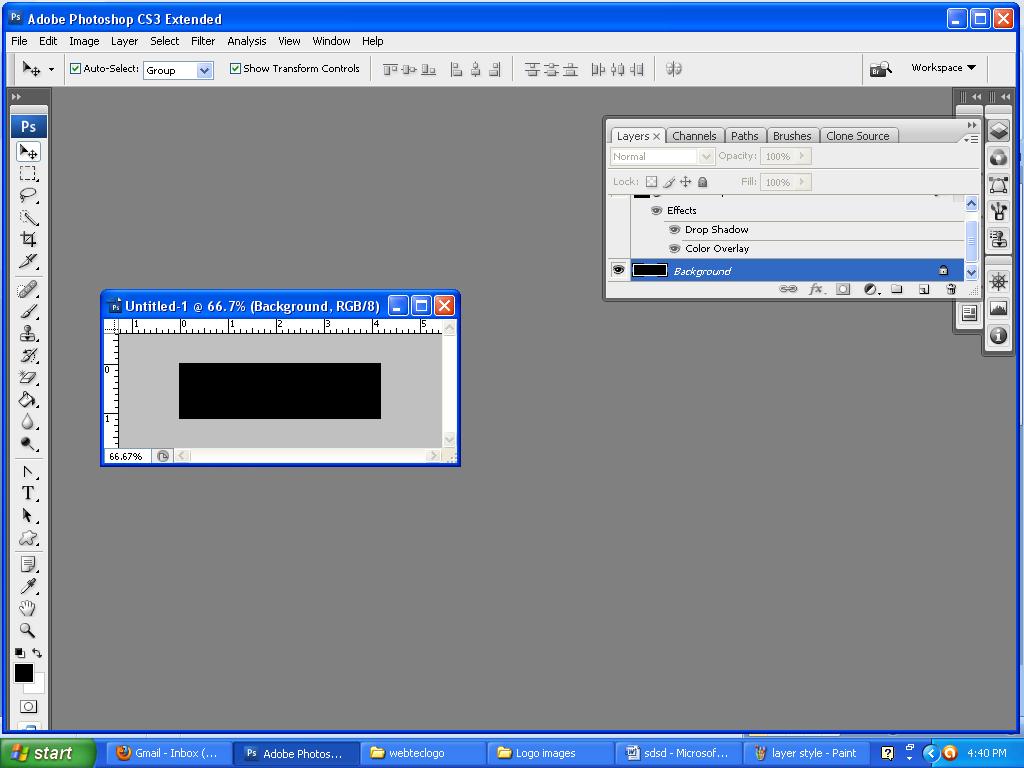
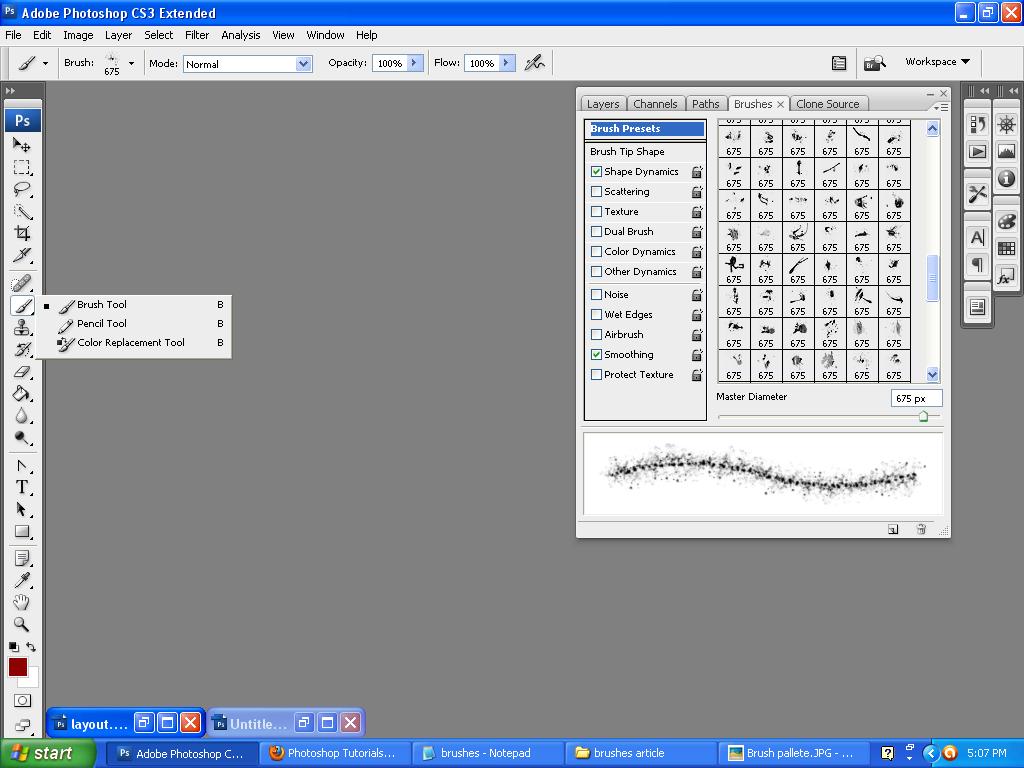
Step 3. Go to tools and select ‘custom shape tool (U)’

Step 4. Go to set shape to create.

Step 5. Select home shape and drag it.


Step 6. Drag the home shape.

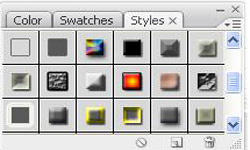
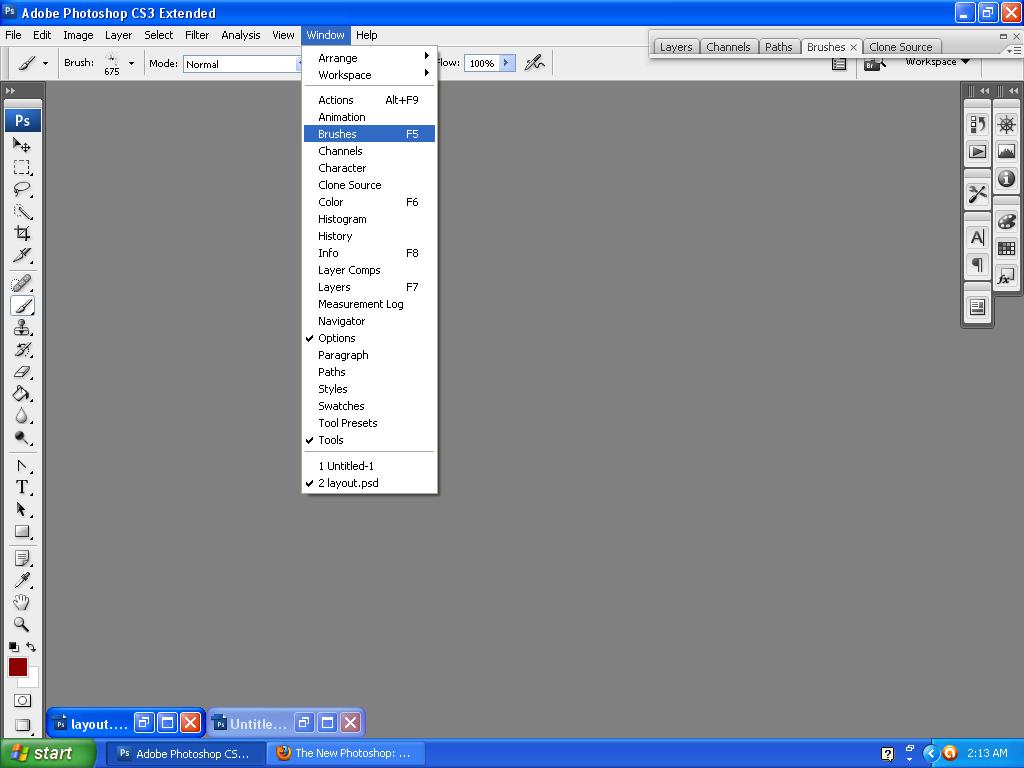
Step 7. Go to the window  select  style and use it.

Step 8. Now using the text tool type the word “Realstate” on the screen using white as the color. The font that I am using is ‘Bauhaus-Thin Wide’ and the size is 48pt.

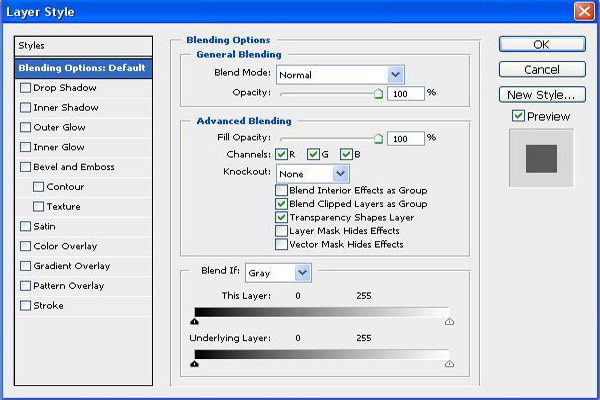
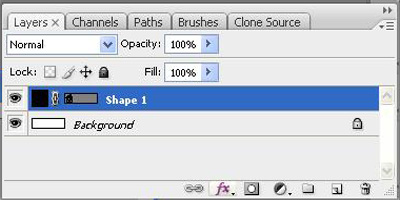
Step 9. Now open the Layer Style window by right clicking the layer and selecting Blending Options.

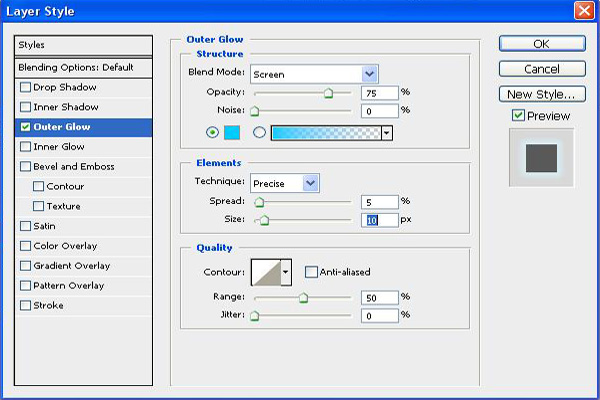
Step 10. Now choose an Outer Glow with the following settings in layer style.

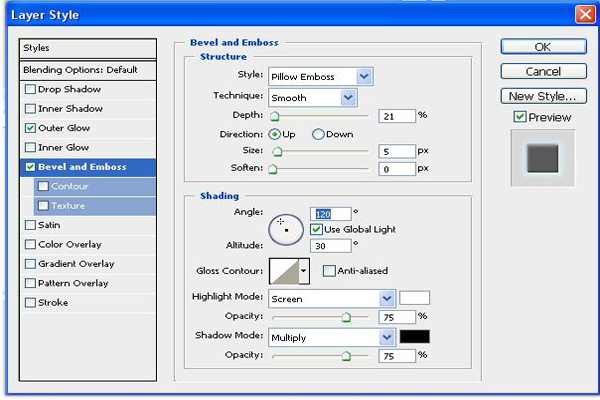
Step 11. And Now choose the Bevel and Emboss settings.

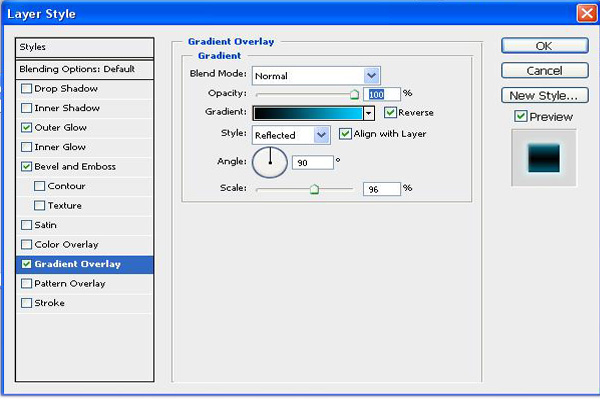
Step 12. Then apply this gradient overlay.

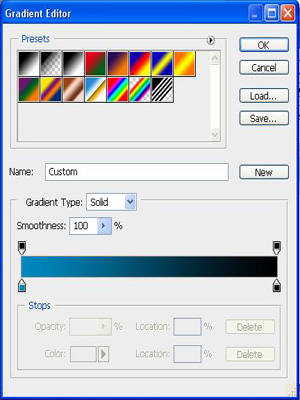
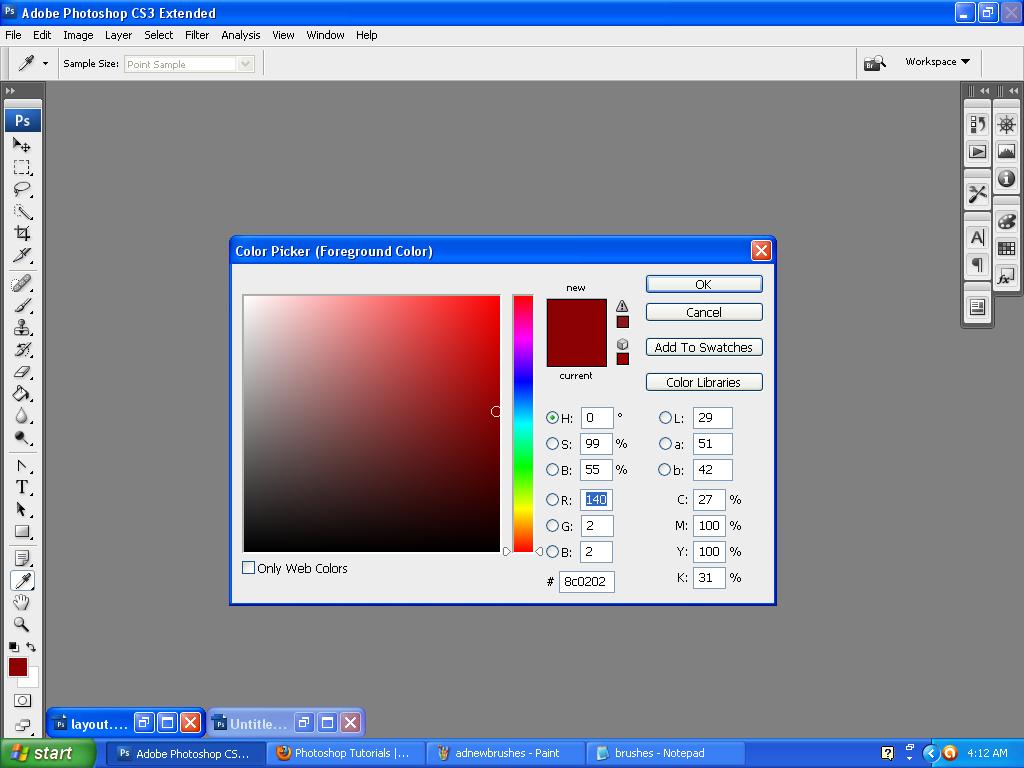
Step 13. Choose here are the color settings for the gradient.

Step 14. Now apply the settings and your image should look like this.

Step 15. Now we need to add another layer. With the shape Custom Shape tool select the fire shape, pictured below. This is a default shape in Photoshop CS3. and Use white as your fore color and draw a large section of fire over top of your text.

Step 16. Now set the layer blend mode to Overlay and reduce the Opacity to 60%.

Step 17. Now you are finished. Your final logo image should look like this.

How to use Brushes effect in ‘photoshop’

priyanshu | Jun 16,2011 |   No Comments

Creation for Brushes effect ‘Steps’ are as follows :—

Step 1. Create a new file go to the file menu and select new.    Ctrl+n is the   Shortcut key.


Step 2.  (i) Fix the file Preset, dimensions width/Height, pixels, inches, points, cm, mm, pica’s, columns.

(ii) choose your color mode – RGB color,Gray-scale,Bitmap,CMYK color,Lab color.

(iii) choose Background contents – White, Background color, Transparent.

(iv) Than press OK.

Select the predefined setting for new document

Step 3. Now go to the window and you can select – brushes, Shortcut key – F5.

Go to Window

Step 4. Set the Brushes Master Diameter you want to choose, and display  your brushes pallete now you can choose several properties for example Brushes Tip Shape, Shape Dynamics, Scattering, Texture, Dual Brush, Color Dynamics, Other Dynamics, Noise, Wet edges, Airbrush, Smoothing, Protect Texture ,these attributes are used to make  Cool Brushes Effect’s.

If you want to learn more about how to use Main Toolbar in Photoshop then you can refer to this tutorial

Brush pallete

Step 5. Now go to the Tools Menu and  select brush tool, Now go to the Brushes presets and  select brushes and use this Brush in your new file.

Select Brush

Step 6. Change your Brush colors and Background color from the Tools menu and double click set forgound color tab than click ok.And drag the Brushes.

color picker


To Add More types of Brushes :—use the following steps

Step 1. Copy  your downloaded brushes.And click the Start button and go to the My computer.

My computer

Step 2. Double click the ‘C’ drive and go to the program files.

c drive

Step 3. Dubble click the Adobe folder.

Adobe

step 4. Now again click the Adobe Photoshop folder.

step 5. Goto the presets folder and Double click brushes folder.

Step 6. And paste here Your downloaded brushes.

Step 7. Now Restart the Photoshop. and you can use these installed brushes from the brushes pallete.


Thats it. It was really easy. If you want more photoshop related tutorial then you can visit